Basic Techniques for Creating Paper Flowers
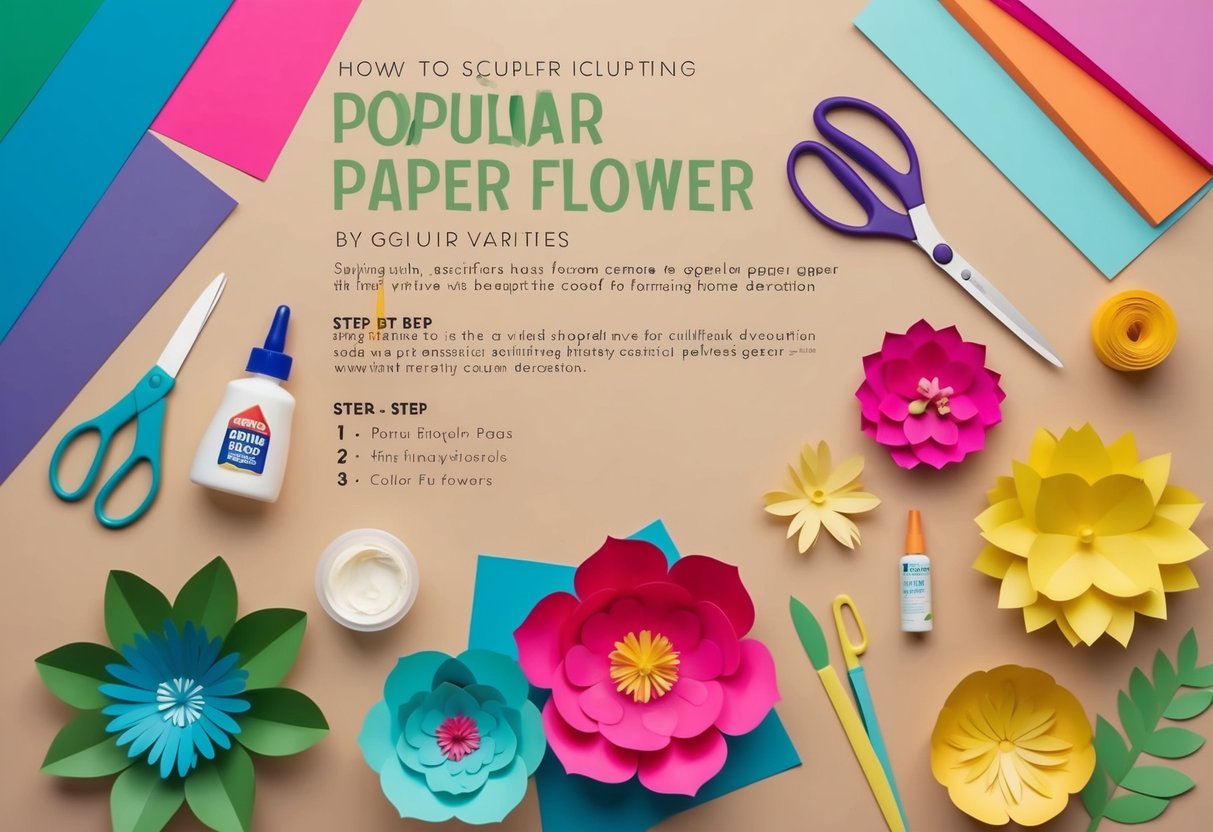
Mastering fundamental techniques like precise cutting, shaping, and petal assembly ensures durable, beautiful paper flowers. Following a step by step approach results in lifelike, eye-catching designs perfect for home décor.
Cutting Petal Shapes
Cutting accurate petal shapes is one of the first skills needed for any paper flower tutorial. Start by selecting the right paper—crepe, tissue, or cardstock—depending on how structured or delicate the flower should look.
Always use sharp scissors or a craft blade to achieve clean edges and avoid frayed paper. Templates are useful for keeping petals consistent, especially for repetitive designs.
Trace petal shapes onto the reverse side of the paper and stack several sheets to speed up cutting. For rounded petals, use gentle curves; for daisies or sunflowers, pointed or serrated shapes add realism.
Using a free paper flower template can simplify the process for beginners and help achieve uniformity across each flower. Organizing cut petals by size makes the assembly much smoother in later steps.
Shaping and Curling Petals
To give paper flowers their lifelike appearance, shaping and curling the petals is essential. The type of paper chosen affects how it holds shapes—crepe stretches easily, while cardstock keeps firm curves.
Use a bone folder, pencil, or the edge of scissors to gently curl the petal edges outward or inward, mimicking real flower petals. For realistic depth, add subtle creases by pressing the center of the petal with a blunt tool or your fingers.
Layering curved petals in staggered rows creates dimension and helps the flower look natural. Avoid folding too sharply, as this can cause unintentional creasing or tearing especially with thinner paper.
Practice is key to mastering petal shaping, and experimenting with the direction or intensity of curling can dramatically change the flower’s final look.
Attaching Petals to Stems
Attaching petals to stems is a critical technique in any flower tutorial. Use thin floral wire or wrapped paper stems as a base for building the paper flower.
Begin by gluing a few smaller petals tightly around the wire to form the center; hot glue works well but white craft glue is suitable for lighter papers. Gradually layer larger petals in a circular fashion, slightly overlapping each one to hide gaps and add fullness.
Secure each petal at the base, allowing the rest to flare out naturally. If creating a multi-layered flower, stagger the petals in each row for a realistic result.
Wrap the base of the flower with floral tape to conceal wires and give the stem a finished appearance. This method works for roses, peonies, and other three-dimensional paper flowers.
Using Accordion Fold
The accordion fold technique is simple but effective, perfect for crafting carnations, pompoms, or decorative flower crafts. To use this method, stack several sheets of tissue or thin paper, then fold them back and forth in even, narrow pleats—about 1 to 1.5 centimeters wide.
After folding, secure the center with floral wire or string. Trim the ends of the folded strip to create rounded or pointed petals.
Gently separate each layer, pulling apart the pleats and fluffing them to form a full, dimensional bloom. Accordion folds allow for quick results and can be used in garlands, backdrops, or for larger volume flowers.
This approach is especially useful for beginners since it doesn’t require complex shaping and works well in a variety of paper flower making projects. Proper fluffing and careful handling prevent tearing, ensuring that each flower maintains its structure.
Making Classic Tissue Paper Flowers
Tissue paper flowers add vibrant color and a cheerful aesthetic to any space. With a few supplies and easy techniques, anyone can craft elegant paper blooms for parties, gifts, and home decor.
Simple Tissue Paper Flowers
Creating simple tissue paper flowers requires only basic materials such as tissue paper sheets, scissors, and floral wire or pipe cleaners. Select colors to match the room or occasion.
Stack 6-8 sheets of tissue paper. Cut them to the desired flower size—standard sizes are about 5×7 or 8×12 inches.
Accordion fold the stack in 1-inch increments from the short side. Secure the folded stack in the center with a wire or pipe cleaner.
Trim the ends into rounded or pointed shapes for different petal effects. Carefully spread and “fluff” each layer of tissue paper toward the center, forming petals.
The finished flower can be attached to sticks for bouquets, strung on garlands, or used as wall art. Detailed instructions with helpful images can be found in this easy tissue paper flowers guide.
Layered Tissue Flowers
Layered tissue flowers provide a fuller, dimensional look by combining various colors and textures. Use 3-5 colors of tissue paper, placing the sheets in the desired order—lighter shades inside and darker on the outside for a gradient effect.
Cut the stacked papers using slightly different shapes or sizes for added depth. Accordion fold as before, then secure in the center.
Use scissors to fray edges for a fringed or peony-style finish. Gently pull each layer outward and shape the petals with fingers.
These layered blooms make stunning centerpieces and can be arranged in vases or as part of decorative installations. More detailed methods are available in this step-by-step tissue paper flowers tutorial.


