

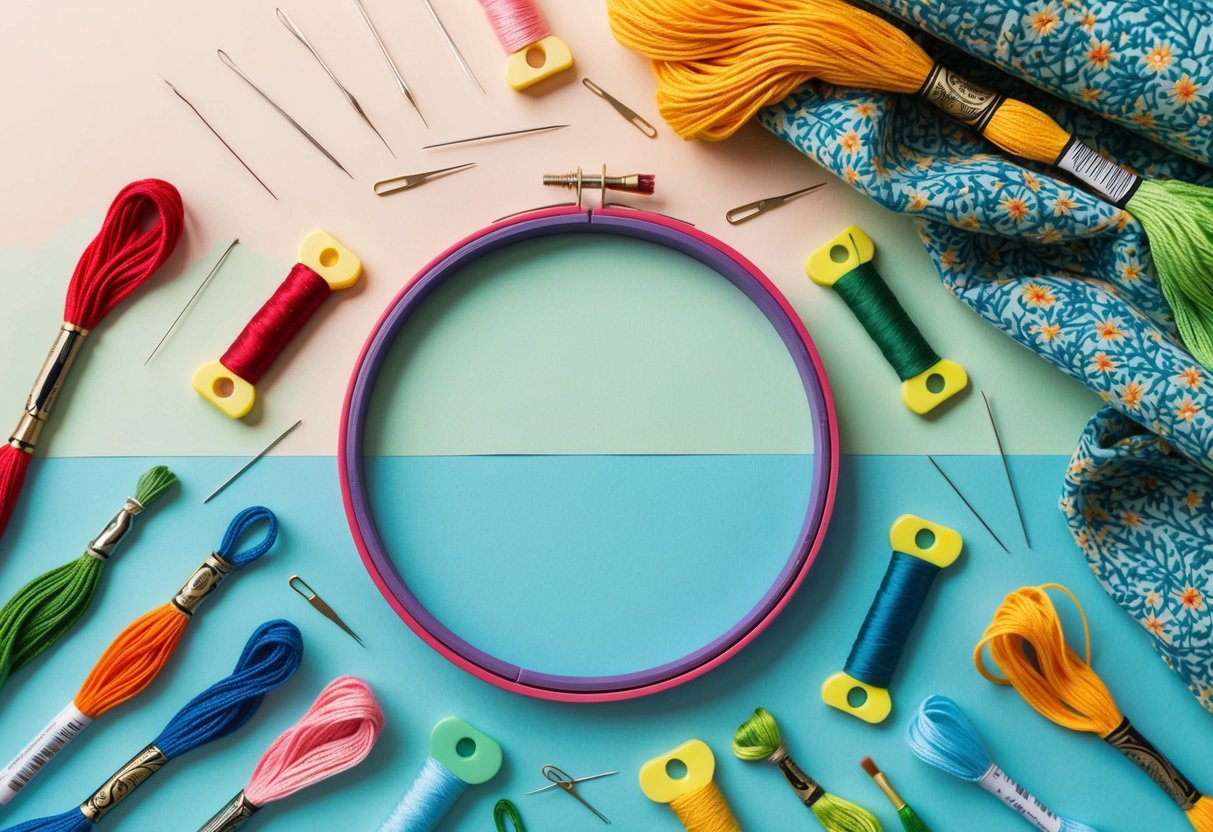
Adding Embellishments and Beading
Embellishments like beads add shimmer, dimension, and personal style to embroidery projects. Thoughtful bead selection and proper technique can turn basic stitches into standout pieces, helping stitchers develop both skill and creativity.
Choosing the Right Beads
Selecting the right beads for embroidery begins with understanding bead types, sizes, and materials. Seed beads are the most common option for designers, offering versatility in patterns and color.
For delicate fabrics, choose lightweight glass or acrylic beads to avoid weighing down the material. Durability and colorfastness are important considerations.
Beads should have smooth edges to prevent thread fraying during stitching. Transparent, metallic, and matte finishes can be combined for creative effects, enhancing visual interest.
It is best to lay out beads next to the design before stitching to estimate how they will look together. Planning ahead helps avoid overcrowding and supports a cohesive, designer-inspired arrangement.
For project inspiration and practical tips, see Master Bead Embroidery Like a Pro’s step-by-step guidance.
Beading Techniques for Embroidery
Several methods exist for applying beads to fabric, each producing a different effect. The single bead method involves sewing each bead onto the fabric individually, offering the most control and precise placement.
For lines or borders, the backstitch beading technique strings several beads onto the thread, then stitches them down with spaced anchor points. The couching method is useful for larger beads or three-dimensional embellishments, securing beads with a secondary thread for extra stability.
Keep consistent thread tension to prevent puckering and ensure beads sit evenly on the surface. Beginners can practice with straightforward designs, gradually combining advanced styles for more complex, creative embroidery.
For a visual demonstration, Pam Ash Designs explains how to embroider with beads step by step.
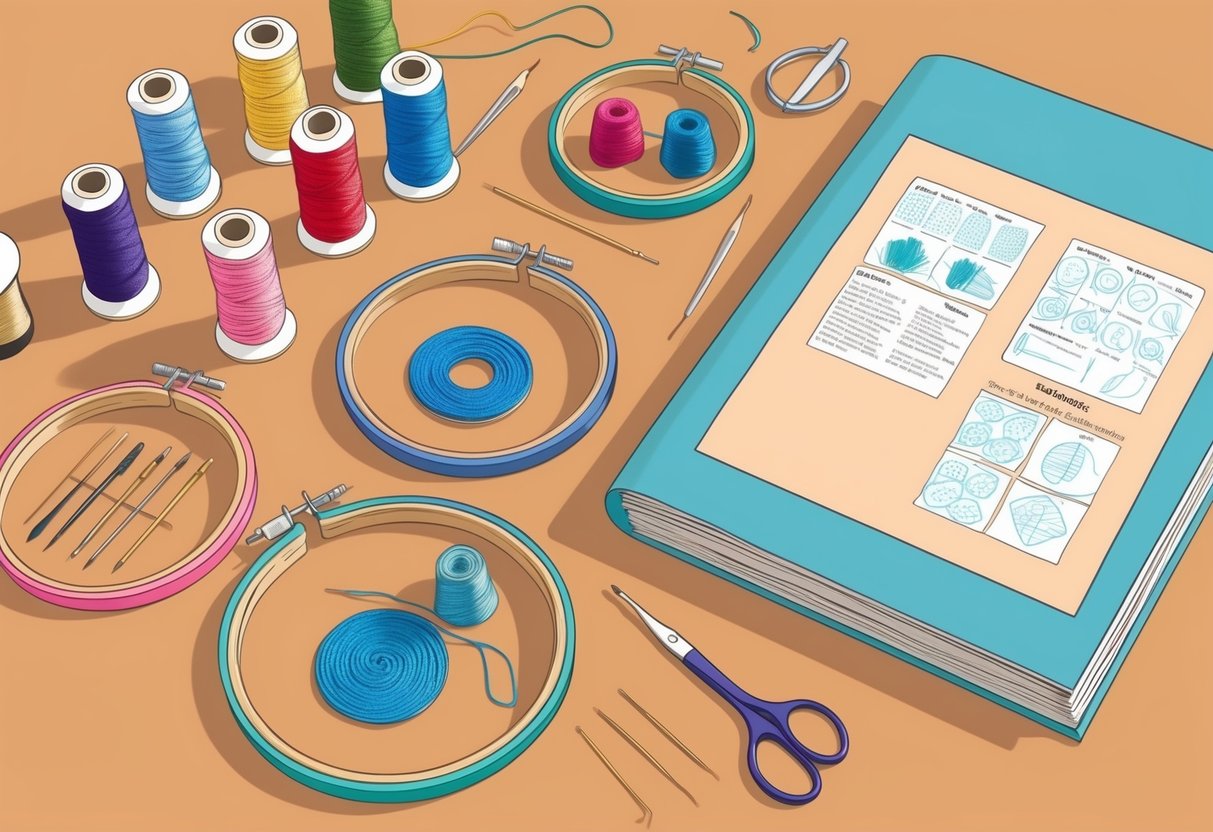
Developing Your Own Embroidery Style
Many beginners in the art of embroidery want to move beyond following patterns and start developing a unique style. Creativity can flourish with the right approach to finding inspiration and making thoughtful choices about color and texture in each design.
Drawing Inspiration for Designs
Embroidery designers often look to both their surroundings and other artists for inspiration. Nature, architecture, and everyday objects can be translated into striking stitched motifs.
For those just starting, sketching simple shapes or tracing favorite images onto fabric is a practical method to see what works well in thread. Joining embroidery communities—either online or locally—allows crafters to discover fresh ideas and explore a variety of traditional and modern patterns.
For practical, hands-on advice and free tutorials, websites such as Domestika’s beginner embroidery guides offer step-by-step examples and tips. Keeping a design journal or mood board can help an embroidery artist collect and organize inspiration.
This process makes it easier to return to favored themes or techniques that emerge over time. Studying the work of established embroidery designers can also encourage experimentation and shape a distinctive aesthetic.
Experimenting with Color and Texture
The interplay of color and texture is central to differentiating one’s embroidery. Beginners are encouraged to experiment with various thread types, such as cotton, silk, and metallic, to create unique effects in their projects.
Trying different stitch techniques—like satin stitch, split stitch, or French knots—adds dimension and richness. Many foundational stitches and how they affect appearance are demonstrated in resources like Embroidery 101 on Instructables.
A simple exercise: choose a single motif and stitch it multiple times using various color palettes and combinations of textured threads for comparison. Swatch sampling, where small patches are tested for different combinations, can help hone an individual designer’s preferences.
Careful selection of color theory principles—like complementary or analogous color schemes—brings a cohesive or dynamic look to the work. Over time, these explorations help each artist’s personal style emerge in the vibrant world of embroidery.
Maintaining and Caring for Your Embroidery
Hand embroidery projects and needlework crafts require specific methods for cleaning and storage to preserve their appearance and structural integrity. Proper care not only prevents fading and damage but also helps cherished creations last for many years.
Cleaning Hand Embroidery Projects
When cleaning embroidery, it is essential to use gentle methods since harsh detergents or agitation can distort stitches and damage delicate threads. For most hand embroidery and needlework, it is recommended to spot clean with a mild soap and cold water.
Before washing, always test cleaning products on a small hidden area to prevent unexpected staining or color bleed. Hand wash work using a soft cloth or sponge—never twist or wring the fabric.
Rinse thoroughly to remove any residue and lay the piece flat, preferably on a clean towel, to air dry. Avoid exposing embroidery crafts to direct sunlight while drying, as this can cause threads to fade.
Iron the back of the embroidery on low heat with a protective cloth to smooth wrinkles without crushing stitches.
Storing and Displaying Finished Pieces
Proper storage is crucial to prevent dust, light exposure, and moisture damage that can ruin embroidery or needlework over time. Store finished masterpieces in acid-free tissue paper and place them inside a breathable box or zippered fabric bag.
Avoid plastic containers which can trap humidity and promote mildew. When displaying embroidery crafts, frame them using UV-protective glass to shield colors from fading.
Avoid hanging in areas with high humidity or direct sunlight, such as kitchens or bathrooms. Rotate displayed pieces periodically to ensure even exposure and preserve their vibrant appearance.
See in-depth guides and practical tips in beginner embroidery care guides for effective storage and display solutions.