Split Stitch Variations
The split stitch is valued for its soft, textured appearance and flexibility in both outlining and filling shapes. Working this stitch means each new stitch passes through the previous one, creating subtle texture and a solid visual line.
It is ideal for curves or detailed work that benefits from a less rigid outline. Artists can vary the length and spacing of each split stitch for different effects.
For example, longer stitches give a smoother, more open look, while shorter ones build up dense, tactile outlines. Using contrasting threads or layering split stitches in rows helps create depth and dimension.
Additional guidance on mastering this foundational technique is covered in resources like Creative Stitches for Contemporary Embroidery.
Detached Chain Stitch Details
The detached chain stitch, also known as the lazy daisy, is used for creating petal and leaf motifs, as well as unique textural accents. Each stitch forms an individual loop, anchored with a small straight stitch, offering flexibility in direction and size.
Creative placement can result in clustered details, scattered patterns, or borders resembling petals and seeds. For varied effects, experiment with the length and grouping of each chain stitch.
Combining this stitch with others introduces intricate layering and interest. Visual guides such as this illustrated embroidery reference can help beginners master the basics and use the technique to introduce playful or delicate designs.
Step-by-Step: Starting Your First Project
Success with embroidery begins with the right supplies, accurate pattern transfer, and a focus on basic stitches. Careful preparation ensures clean results and a smoother learning curve for every beginner seeking to learn hand embroidery.
Preparing Your Materials
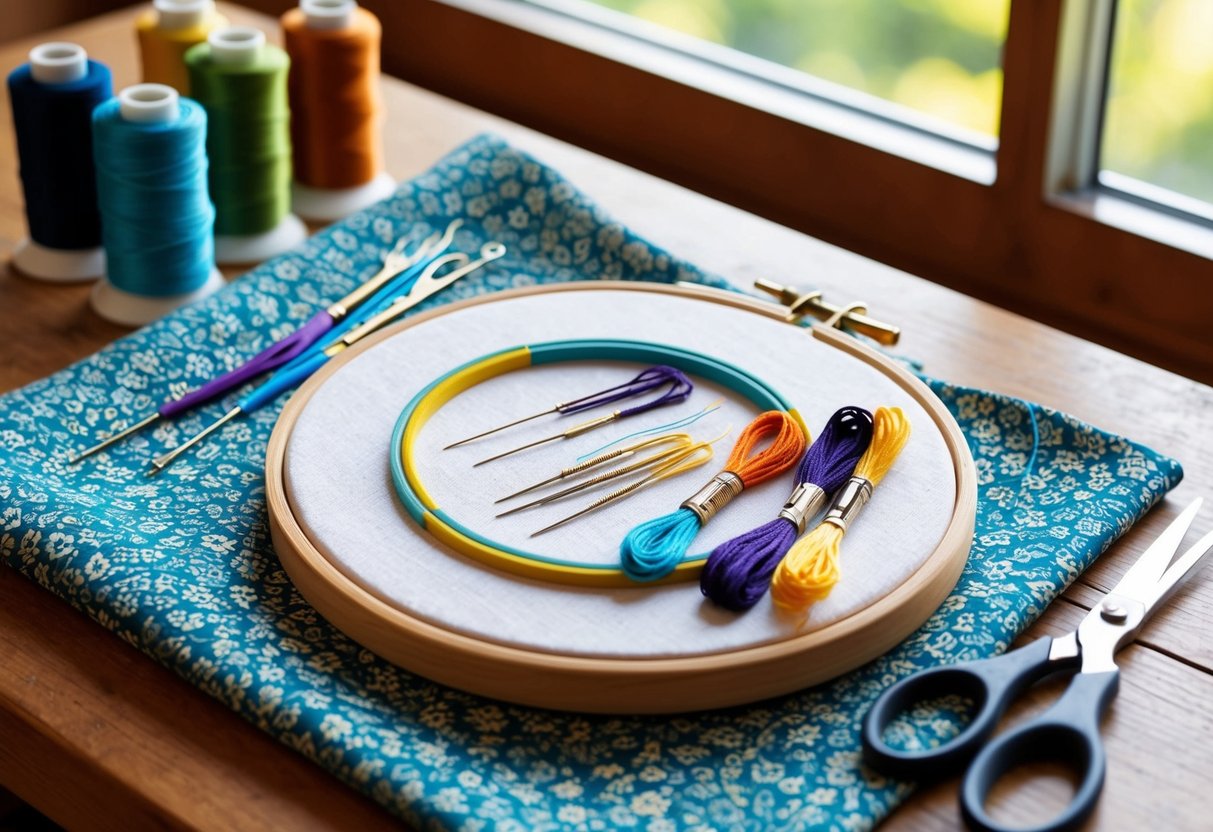
Selecting quality supplies helps prevent frustration and achieve better results in craft projects. Beginners need a set of embroidery needles, an embroidery hoop, sharp scissors, fabric (such as cotton or linen), and embroidery floss.
Multiple thread colors can be used to add depth to illustrations and design work. Lay fabric flat and cut it with fabric scissors, leaving a margin for hooping.
Assemble the hoop by loosening the screw, placing the fabric over the inner ring, then replacing the outer ring and tightening. Ensure the fabric is taut but not stretched out of shape—wrinkles hinder needlework and can distort stitches.
Organize embroidery floss by color, grouping or winding onto bobbins to prevent tangles. It is helpful to have a needle threader, especially for those new to needle arts.
Select a suitable fabric size for the project to allow enough edge for framing or finishing.
Transferring Patterns to Fabric
Transferring a pattern accurately is crucial for a neat and clear result. Patterns can be printed or hand-drawn using transfer pens or pencils designed for fabric.
Place the pattern beneath or onto the fabric, depending on the fabric’s transparency. For more opaque fabric, tracing paper or water-soluble stabilizer gives precise outlines.
Carefully trace the lines you want to embroider, maintaining an even pressure. Remove excess markings according to the manufacturer’s instructions or wash away with water if using a washable pen.
Digital illustrations can be transferred by printing mirror images and using heat transfer tools. Avoid regular pens or markers, as these may bleed and ruin the appearance of the embroidery.
With patterns clearly marked, positioning within the embroidery hoop ensures the design remains centered as you stitch.
Beginning with Simple Patterns
Start with basic shapes or line drawings that feature clear outlines and minimal details. Patterns such as leaves, flowers, and geometric motifs are ideal for skill-building.
Running stitch, back stitch, and split stitch are fundamental and frequently appear in easy embroidery beginner tutorials. To avoid mistakes, use only a few thread colors initially.
Refer to visual diagrams or step-by-step instructions for each stitch. Practice on scrap fabric first to get comfortable with needle control and thread tension.
Work from the center outwards to minimize wrinkling and keep the illustration balanced. Completing each section before moving to the next helps track progress and maintain consistency.
As familiarity grows, gradually try more advanced patterns and new stitches.
Avoiding Common Beginner Mistakes
Beginners often make avoidable errors that can affect the appearance and longevity of their embroidery projects. Focusing on proper thread tension and secure finishing helps prevent frustration and ensures a polished result.
Thread Tension Tips
Maintaining even thread tension is critical for successful embroidery. Pulling the thread too tightly causes fabric puckering, while leaving it too loose results in uneven stitches.
It’s essential to practice consistency and use gentle, steady pulls. Beginners should pay special attention to the type and thickness of their embroidery floss.
Different fabrics react to various thread weights. Test on a scrap of the chosen fabric before starting the main project.
To check tension, lay the fabric flat and observe if it buckles when stitched. Adjust your grip and needle angle as needed.
Regularly pausing to smooth the fabric helps catch issues early. Many embroidery experts recommend slow, deliberate movements to develop control and muscle memory.
For more detail on mistakes such as uneven stitches and tips to correct them, see this overview of common embroidery mistakes.
Securing and Finishing Stitches
Properly securing stitches prevents unraveling and keeps embroidery looking tidy. At the beginning, anchor the thread with a small knot or by weaving it into several existing stitches on the backside of the fabric.
This avoids a bulky start. Always secure thread ends by weaving them under completed stitches for at least an inch.
Avoid leaving knots exposed on the back, which can catch or cause discomfort on wearable items.
Key techniques include:
- Using small, flat knots that do not show through the fabric surface.
- Trimming thread ends closely but not so tight that the stitching loosens.
- Double-checking finishes on high-use areas such as cuffs and edges.
For step-by-step instructions and visuals on securing stitches, see these clear beginner embroidery techniques.


