

Planning Your Macrame Wall Hanging
Planning a macrame wall hanging project starts with two essentials: selecting a suitable design for your space and deciding on the right dimensions. Careful preparation ensures the tutorial is easier to follow and that the finished piece fits both the room and skill level.
Choosing a Design
Selecting a macramé wall hanging design involves balancing personal style, skill level, and the overall theme of the room. Beginners often benefit from designs that focus on basic knots such as the square knot and half hitch.
Simple geometric shapes or symmetrical patterns are less overwhelming and provide an effective introduction to the craft. Consider reviewing designs in online tutorials or galleries to identify looks that match your decor preferences.
Sites like My French Twist offer step-by-step ideas that cater to different tastes and experience levels. Prioritizing designs that use fewer types of knots can make the project less complicated and help build confidence with each completed section.
Before committing, think about color schemes, cord thickness, and whether the macrame wall hanging will be the focal point or a subtle addition. Creating a mood board or sketching the design layout can help visualize the finished project.
Sizing and Dimensions
Accurately planning the size of a macrame wall hanging prevents common issues like running out of cord or ending up with a piece that doesn’t fit the intended wall space. Measure the wall area where the piece will hang to determine the ideal width and length.
Wall hangings typically range from 12 to 36 inches wide, but smaller sizes work well for narrow walls or gallery groupings. Keep in mind that the length should balance the height of the space without obstructing furniture, switches, or outlets.
Using a simple chart or list to track dimensions, cord lengths, and dowel widths can streamline the macramé wall hanging project and keep materials organized. Referencing a beginner tutorial with sizing guidance can help avoid miscalculations.
Choosing manageable proportions also ensures knots are easier to tie and that the finished macrame wall hanging maintains its intended shape.
Step-by-Step Easy Macrame Wall Hanging Tutorial
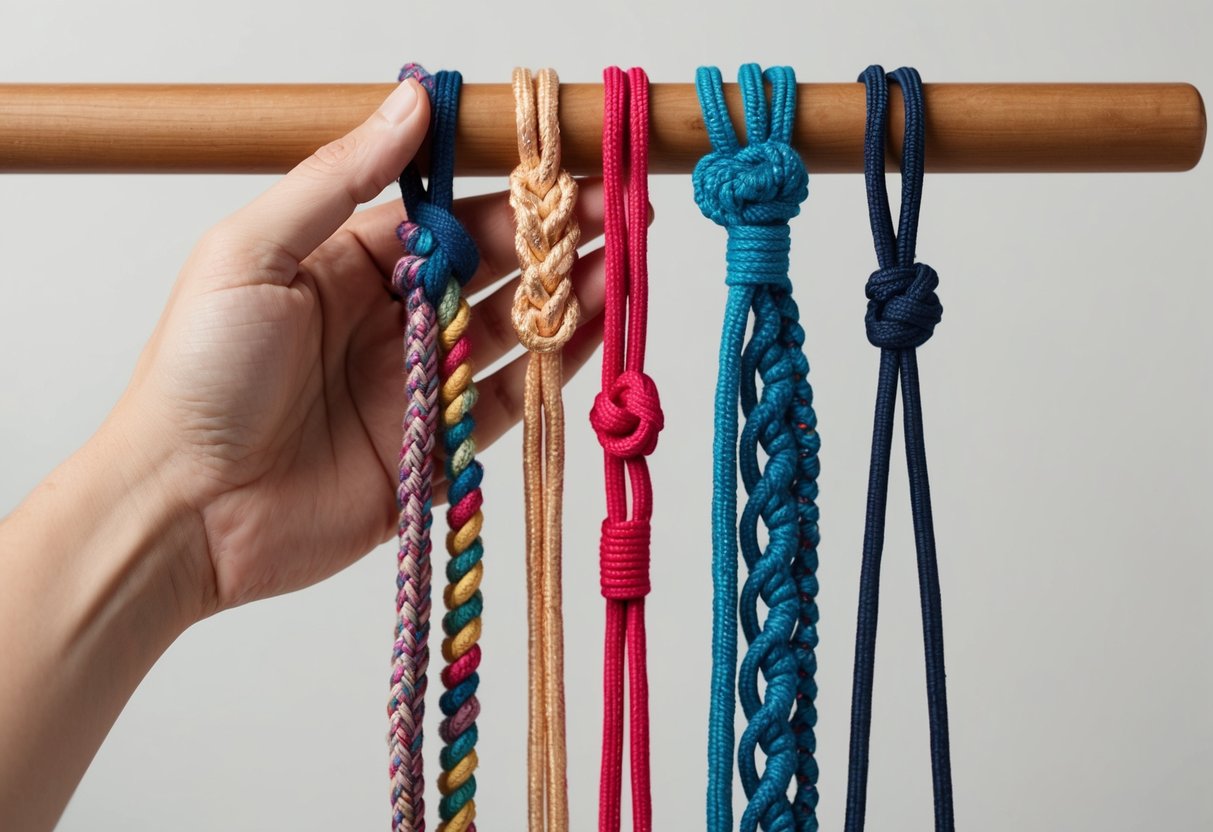
Every beginner macrame wall hanging project starts with gathering the right materials and learning how to attach cords securely. By starting with foundational knots such as the lark’s head knot, it becomes simple to build intricate and visually pleasing patterns.
Preparing Your Materials
Selecting the proper materials is essential in macrame wall hanging projects. Choose a sturdy wooden dowel or branch to act as the anchor for the macramé suspension.
The diameter should be between 1/2 inch and 1 inch for stability. Opt for 100% cotton macrame cord for flexibility and strength.
For a small wall hanging, cut 8 to 16 cords, each measuring at least three times the desired finished length. Scissors, a measuring tape, and a comb for fraying ends are also needed.
Lay the cords out and smooth them. Use a measuring tape to ensure all cords match in length before starting.
It is important to plan your design ahead and double-check cord lengths, as running short can limit your pattern choices. This process ensures that the macrame wall hanging will have an even, balanced appearance throughout.
Attaching Cords Using Lark’s Head Knot
To begin assembling the macrame wall hanging, each cord is attached to the dowel using the lark’s head knot. Hold a single cord folded in half, forming a loop at one end.
Place this loop over the top of the dowel or branch. Pull the cord ends through the loop, tightening it against the dowel.
This knot will secure the cord in place. Repeat for each cord, spacing them evenly across the dowel.
The lark’s head knot is a foundational element in most beginner macrame wall hanging tutorials because it creates a neat starting row and makes it easier to follow step-by-step macrame instructions. Once all cords are attached, you are ready to move on to more advanced knots and build the visual complexity of your wall hanging.
Creating Patterns With Basic Macrame Knots
Patterns in macrame wall hangings are established by varying the placement, repetition, and direction of simple knots. The most frequent techniques involve forming straight lines, diagonal sections, and layers of texture using basic macrame knots.
Forming Rows with Square Knots
The square knot is fundamental in crafting neat, symmetrical rows in a macrame wall hanging. It consists of two half knots tied in alternating directions, producing a tight, compact appearance.
To form a row, cords are grouped (typically in sets of four), and a square knot is tied horizontally across each grouping. Rows can be stacked directly above or below one another for a dense, woven look, or staggered for an alternating pattern, often called the alternating square knot technique.
This approach visually fills space while creating an intricate surface. Beginners find this knot critical for projects because it is strong and consistent.
When assembling rows, it’s important to align the knots evenly. Consistent spacing, whether tight or loose, determines the final look and balance of the hanging.
Tutorials such as those found in this beginner macrame knots guide detail how to maintain even rows and introduce alternating patterns for more complexity.