Essential Tools for Macrame Wall Hangings
Choosing the right tools is essential for any macrame wall hanging project. A sturdy support, accurate measuring tools, and an organized workspace help ensure precise results and a more enjoyable crafting experience.
Work Surface and Support
The work surface forms the foundation for a comfortable and efficient macrame wall hanging project. Ideally, crafters should select a flat, stable table or a dedicated craft desk.
Keeping the area uncluttered helps prevent cords from tangling and makes knotting easier. Support is equally important.
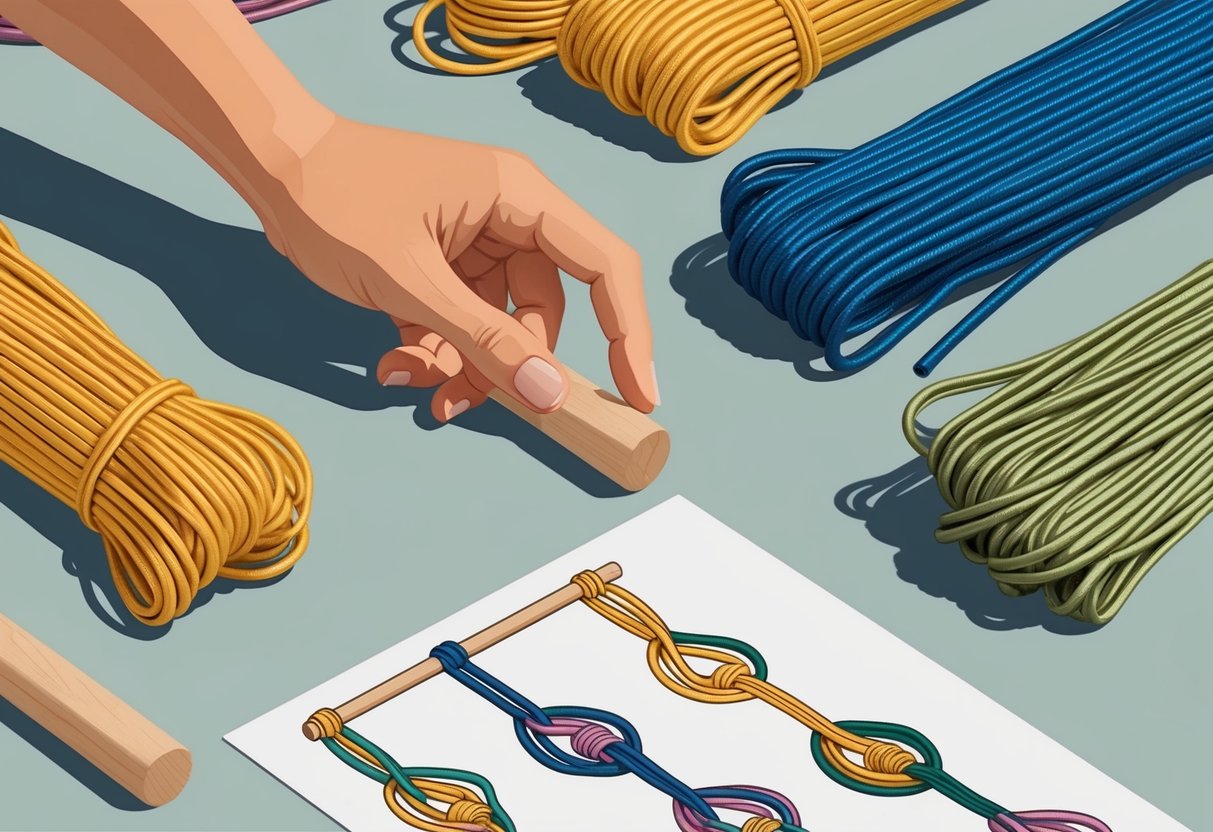
Many people use wooden dowels or metal rods as the base for hanging cords. Some crafters prefer using a clothing rack or an adjustable stand to hang their project at a comfortable height.
For beginners, a sturdy wall hook or a heavy-duty curtain rod can also provide ample support without wobbling. Clips or S-hooks are commonly used to hold the wall hanging securely in place while knotting.
This reduces hand fatigue and prevents cords from slipping as the piece grows. A well-supported macrame project not only looks neater but also lets the crafter focus on technique and design.
For those looking for tool recommendations, basic supplies like dowels, S-hooks, and cord organizers are listed in guides such as the top 7 essential tools for macramé projects, which is useful for both new and experienced makers.
Measuring Tools
Accurate measurement is key to achieving balanced and symmetrical patterns in any macrame wall hanging. The most commonly used tools are measuring tapes (soft or retractable) and rulers.
Measuring the macrame cord before cutting will help avoid waste and make sure each project is consistent in size and shape. A simple fabric measuring tape allows users to lay out their cords and pre-measure lengths based on the wall hanging design.
For small projects, a rigid ruler provides quick checks of cord lengths and knot spacing. Chalk or fabric-safe marking pens can help mark center points or placement lines directly on the support rod or surface, assisting with symmetry and alignment throughout the project.
For those working with more intricate patterns, printable templates or grid-lined boards are sometimes used to keep the project organized. Beginner-friendly tutorials stress the importance of checking measurements frequently to maintain the desired proportions and finish for each wall hanging.
Fundamental Macrame Knots for Beginners
Learning basic macrame knots sets the foundation for creating a variety of wall hanging designs. Mastering these essential knots makes advanced projects accessible and helps beginners build confidence with every new pattern.
Square Knot
The square knot is one of the most popular and versatile macrame knots for beginners. It’s formed with four cords: the two outer cords do the knotting, while the two inner cords act as fillers.
To start, cross the left working cord over the center cords and underneath the right working cord, then loop the right working cord under the center cords and through the gap created on the left. Beginners will notice the square knot sits flat and creates a balanced, neat appearance.
It’s frequently used in rows or repeated to form patterns and textures. The symmetry and ease of this knot make it ideal for wall hangings, plant hangers, and jewelry.
Watching a step-by-step square knot video can help clarify each motion and technique. Many tutorials break down the sequence into manageable steps, such as this basic macrame knots beginner tutorial.
Lark’s Head Knot
The lark’s head knot is essential for attaching macrame cords to a dowel or ring. It involves folding a cord in half to create a loop, placing this loop over the dowel, and then pulling the ends of the cord through the loop to tighten.
This knot is often the first step in starting a macrame wall hanging. It’s quick and secure, making it ideal for setting up cords in even rows.
The lark’s head is also useful on wooden rings or metal hoops. Clean, uniform lark’s head knots help create a polished foundation for the rest of the project.
Detailed visuals, including photo or video guides, such as those found in this beginner square knot and lark’s head tutorial, can help ensure accuracy.
Clove Hitch Knot
The clove hitch knot is used for creating lines and curves within macrame patterns. This knot is formed by taking a working cord and looping it over and under a holding cord, then repeating this motion to complete the stitch.
Multiple clove hitch knots can be lined up horizontally or diagonally to build decorative patterns. It’s especially important for beginners wanting to add definition and structure to wall art.
The clove hitch allows for outlining shapes or making clean borders, and is often called the double half hitch in various tutorials. Practicing this knot helps improve consistency and tension control, which is vital for wall hangings.
Beginners can follow along with video demonstrations like the ones in this basic macrame knots video to master the technique.


