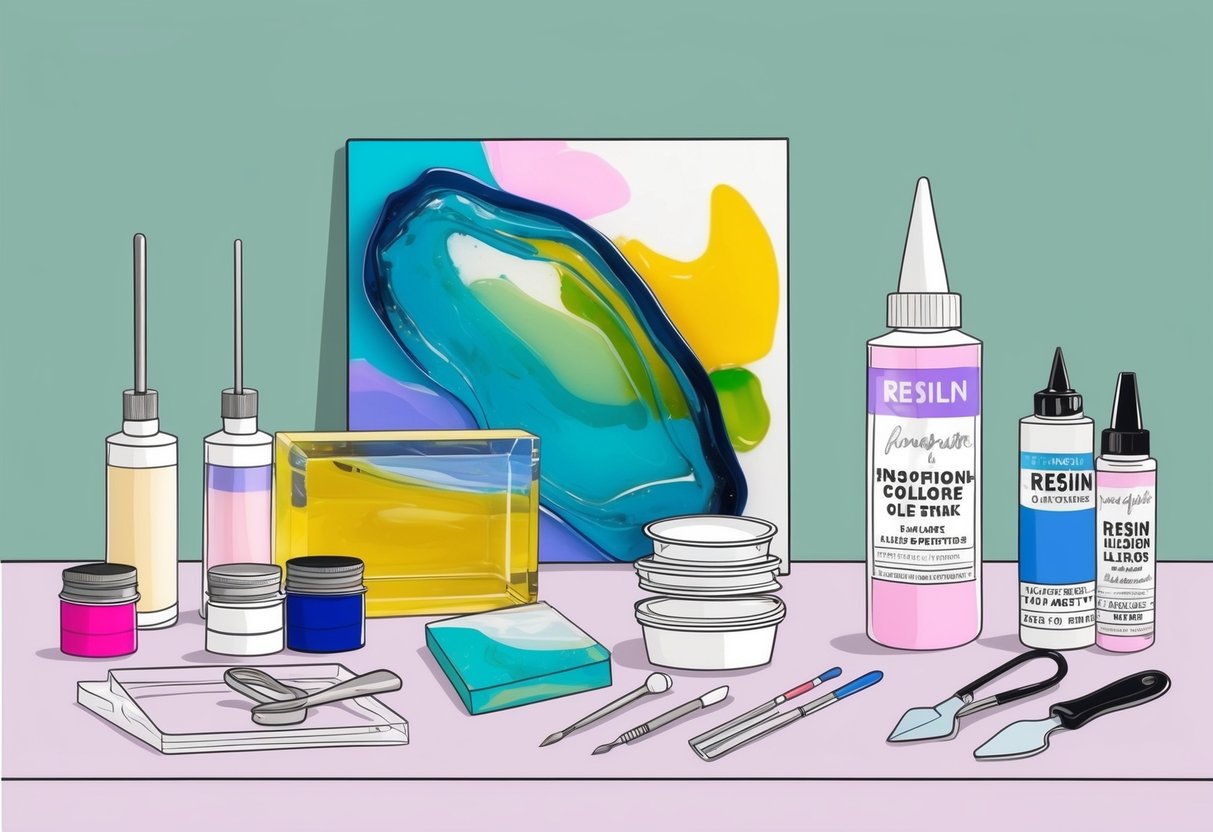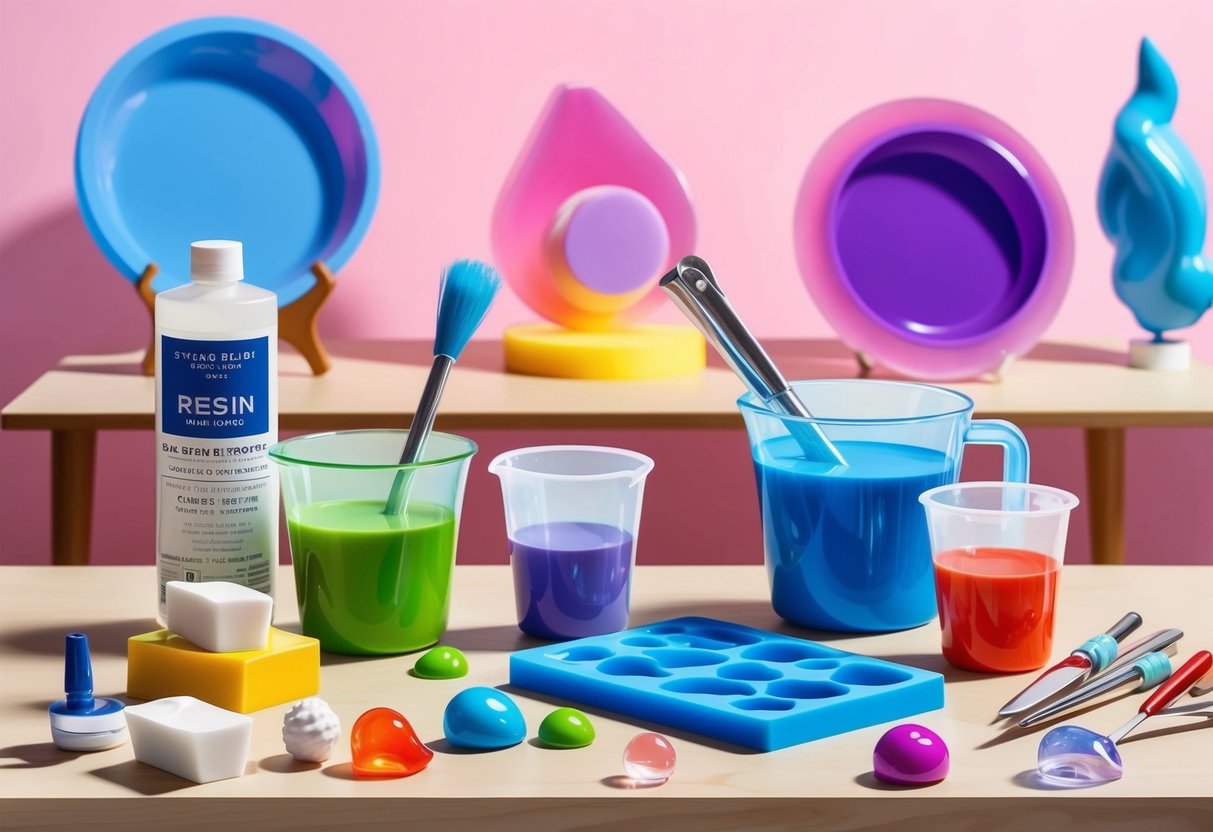
Finishing Touches and Project Assembly

Careful finishing and sturdy assembly ensure resin crafting results look polished and last over time. Selecting the right adhesives and learning how to properly display and maintain home decor will help preserve the beauty and durability of any DIY resin project.
Using E6000 Glue for Durable Assembly
E6000 glue is a favored choice in resin crafting for joining resin pieces to other materials, like metal stands, wood bases, or decorative hooks. Its industrial strength makes it suitable for home decor projects that require long-lasting, secure bonds.
To use, apply a thin layer of E6000 to clean, dry surfaces. Clamp or press the pieces together, then allow at least 24 hours for a full cure.
Benefits of E6000 in resin art assembly include:
- Strong, flexible bond suitable for heavy or intricate decor
- Resistant to water, UV light, and temperature changes
- Slight flexibility prevents brittle cracks in the finished piece
For best results, use the glue in a well-ventilated area and wear gloves to protect skin. When gluing resin to non-porous surfaces, lightly sand the contact area for improved adhesion.
This careful preparation ensures resin home decor projects remain intact even with frequent handling or display.
Displaying and Caring for Resin Decor
Proper display and ongoing care extend the lifespan and gloss of resin creations. Choose spots out of direct sunlight to prevent yellowing or fading of colors, and avoid placing heavy items on delicate resin surfaces.
For wall art or coasters, use felt pads or protective bumpers on the underside to minimize scratching and scuffing.
Tips for maintaining resin home decor:
- Dust frequently with a soft, dry cloth
- Clean with mild soap and water; avoid harsh chemicals
- Store in cool, dry areas if not on display
More tips and inspiration for resin decor projects can be found at Pour La Epoxy and ArtResin.
Frequently Asked Questions
Resin art projects require careful preparation, the right materials, and attention to detail during both the creation and curing process. Safety, proper technique, and troubleshooting common challenges like bubbles and demolding are all important for successful results.
What are the essential supplies needed for beginner resin art projects?
Beginners should start with two-part epoxy resin, a hardener, graduated mixing cups, disposable stir sticks, and nitrile gloves. Protective gear like respirators and aprons is important for safety.
Basic tools also include a silicone mat, heat gun or torch for bubble removal, and molds or a flat surface for pouring designs. High-quality color pigments, mica powders, and alcohol inks are common for adding vibrant shades or effects.
For a breakdown of these materials, refer to this beginner’s guide to resin art.
How do you safely work with resin during crafting?
Work in a well-ventilated area and use personal protective equipment such as nitrile gloves, goggles, and a respirator mask. Cover surrounding surfaces with a drop cloth or silicone mat to prevent spills.
Keep all food and drinks away from the workspace and wash hands thoroughly after working. Always follow manufacturer’s safety guidelines on resin usage.
What techniques can be used to add colors or patterns to resin art?
Epoxy resin can be tinted with liquid dyes, mica powders, alcohol inks, and acrylic paints. For effects like marbling or lacing, artists can pour multiple colored resins in layers and swirl them using sticks or heat tools.
Techniques such as embedding objects, creating geode effects, or using silicone oil for cells are popular ways to customize resin decor. For more details on creative techniques, see this resin art beginners tutorial.
What are the steps to properly cure resin in your home decor creations?
After mixing resin and hardener according to the product instructions, pour it evenly onto the project surface or into a mold. Allow the resin to sit in a dust-free environment, maintaining a steady temperature around 68–75°F (20–24°C).
Most epoxy resins cure within 24-72 hours. Avoid touching or moving your project until the resin has fully hardened for best results.
How do you achieve a bubble-free finish in resin art pieces?
Mix resin and hardener slowly to minimize air bubbles. After pouring, use a heat gun or butane torch to gently pass over the surface, helping bubbles rise and pop.
Let the resin sit for a few minutes before covering it to protect from dust while any remaining bubbles escape. For tips on bubble removal, see this step by step guide to resin art.
What are some effective methods for demolding resin without damaging the artwork?
Ensure the resin has fully cured according to package directions before removing from the mold.
Gently flex silicone molds or tap the sides to loosen the piece.
If the artwork sticks, placing the mold in a refrigerator for several minutes can shrink the resin slightly, making removal easier.
Avoid using sharp tools to pry the resin out, as this can cause scratches or breakage.


