

Exploring Advanced Resin Effects
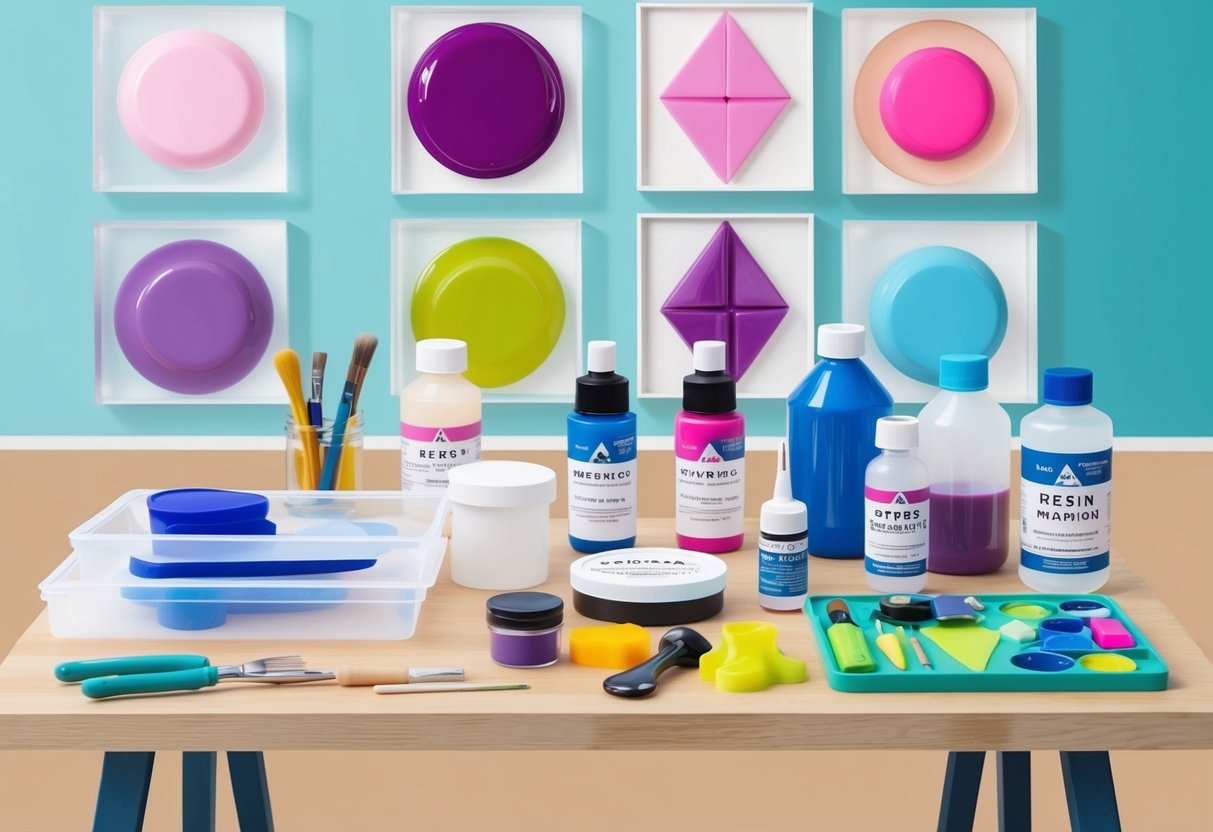
In resin art, advanced techniques open up new possibilities for creating custom decor. Effects like faux quartz crystals and layered resin canvases give resin crafts more dimension and unique style.
Faux Quartz Crystals
Faux quartz crystals created with resin add realistic, jewel-like details to decor pieces. To achieve this effect, artists typically use silicone molds shaped like crystals or broken glass, clear epoxy resin, and a blend of colored pigments or mica powders.
The key steps include mixing small batches of resin and adding a drop or two of colorant for subtle translucency. Pouring the resin into the molds and allowing them to partially cure creates the best clarity.
Once removed from the molds, the faux crystals are embedded in a larger resin project, like geode coasters or wall mirrors. For a full demonstration, there is a detailed DIY epoxy resin geode wall mirror tutorial that explains the process step by step.
Artists can use gold foil, glitter, or iridescent flakes to mimic the look of natural minerals even more closely. Using a heat gun during the embedding process helps to avoid unwanted bubbles and gives a high-gloss finish.
These effects are popular for statement trays, jewelry, and wall art.
Abstract Canvas Techniques
Abstract canvas techniques with resin utilize pouring and layering to create unpredictable, flowing designs. Artists start with a primed canvas and pour layers of tinted resin, often using multiple shades in a single pour to create depth and vibrant patterns.
Important materials include epoxy resin, acrylic paints or alcohol inks for coloring, and tools such as spatulas or heat guns to move the resin and control its blend on the canvas. The process can involve tilting the canvas or using swipe techniques to mix colors and form organic patterns.
A helpful approach is to work in stages, letting each resin layer partially cure before adding the next. This produces well-defined lines and rich, three-dimensional effects.
For inspiration, the video tutorial on advanced resin art techniques demonstrates how controlled manipulation creates “deep ocean” looks and other complex patterns.
Troubleshooting Common Resin Art Challenges
Creating DIY epoxy resin crafts offers creativity and customized home decor, but several issues can arise during the process. The most frequent difficulties include air bubbles trapped in the resin and problems with sticky or uncured surfaces after the curing time ends.
Preventing and Removing Air Bubbles
Air bubbles are a persistent problem in resin art, especially when mixing epoxy. To minimize bubbles, mix the resin and hardener slowly and deliberately.
Fast or aggressive stirring introduces more air into the mixture and increases the risk of bubbles appearing in the finished piece. Pouring the resin in thin layers also helps bubbles escape more easily than in deep pours.
After pouring, allow the resin to rest for several minutes, encouraging bubbles to rise to the surface. A heat gun or butane torch can be gently waved over the surface to pop these bubbles.
If using molds for crafts like coasters or jewelry, spraying a fine mist of 91% isopropyl alcohol over the surface will break many surface bubbles. Keeping the workstation at a stable temperature helps as well, since colder resin is more viscous and tends to hold bubbles.
For complex projects or large surfaces, working in stages with careful observation can ensure fewer hidden air pockets. See more practical methods for addressing bubbles in resin at Mastering Resin Art: Troubleshooting 6 Most Common Resin Issues.
Dealing with Sticky or Uncured Resin
Sticky or uncured resin is often the result of incorrect resin-to-hardener ratios or improper mixing. Always follow the product’s instructions for measuring and mix thoroughly, scraping the sides and bottom of the mixing container to prevent unmixed material.
Environmental factors also matter. Low temperatures and high humidity can slow the curing time or prevent epoxy resin projects from curing fully.
Ideally, work in a space between 70–75°F (21–24°C) with low humidity to support a complete cure. If finished resin remains tacky or has soft spots after the recommended curing time, it may be possible to fix by removing the soft areas, then re-pouring a new layer of correctly mixed resin.
For slightly sticky surfaces, a thin coat of new resin can sometimes seal and harden the project. For more on resolving issues with sticky resin, visit Mastering Resin Art: Troubleshooting 6 Most Common Resin Issues.
Sourcing Materials and Upcycling for Resin Projects
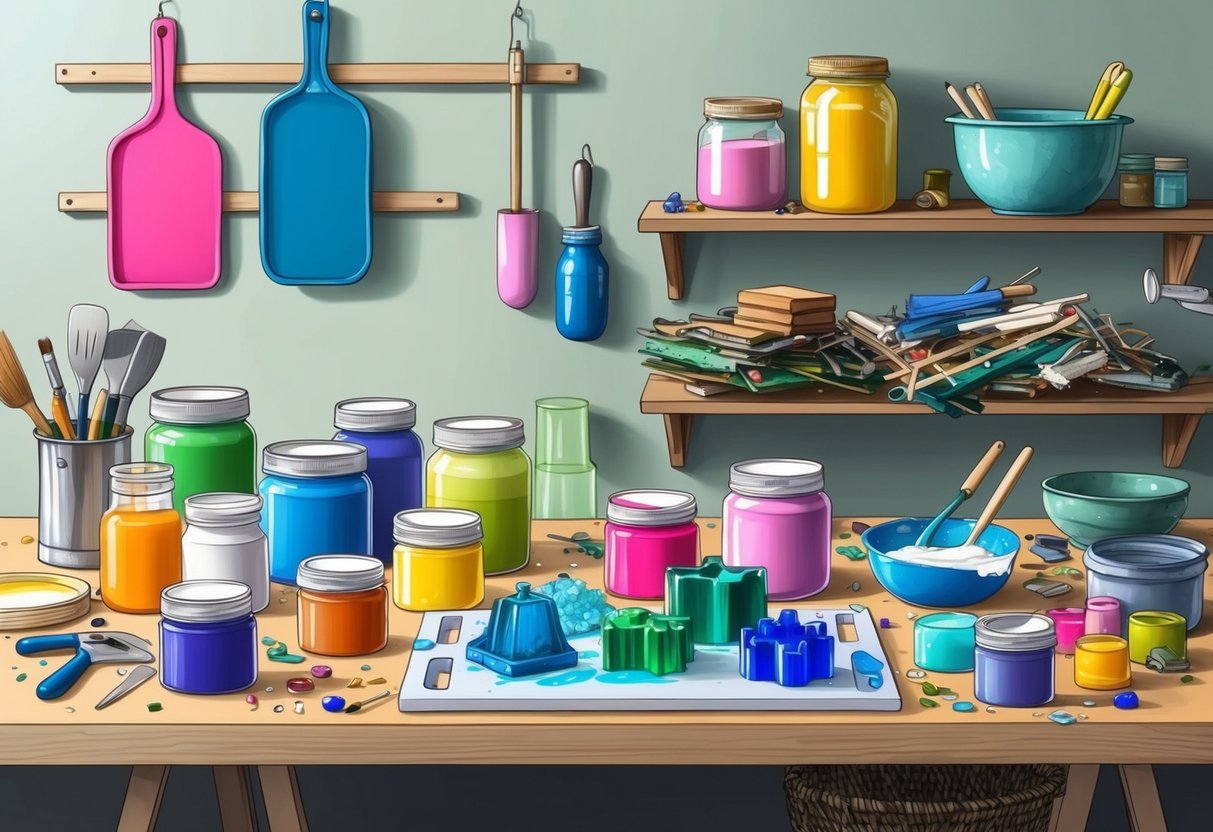
Selecting the right base materials can make a big difference in DIY resin crafts. Thrift stores and unused household items offer affordable, sustainable options for creative and custom resin art projects.
Finding Unique Items at Thrift Stores
Thrift stores are reliable places to discover one-of-a-kind finds for resin art. Shoppers can browse shelves for small trays, wooden picture frames, glass coasters, or jewelry molds that can be upcycled or used as molds.
These pieces often cost less than new crafting supplies. Thrift store hunting is ideal for budget-friendly resin projects.
Key items to look for:
| Item Type | Resin Use Example |
|---|---|
| Small dishes | Resin-coated decorative plates |
| Vintage frames | Framing resin artwork |
| Glassware | Resin inlays or enhancements |
| Jewelry pieces | Replicas or casting in resin |
Frequent thrifting helps builders spot rare, interesting bases such as old tiles, ornate handles, or unique figurines. Wipe or clean all items thoroughly before use, as dust and oils can affect resin adhesion.
Search for pieces with non-porous, hard surfaces, which work best for most diy resin crafts. For video demonstrations, tutorials like this YouTube guide on creating beautiful resin art with simple techniques show how common thrifted items become striking decor.
Repurposing Household Items
Many everyday household objects can be repurposed for resin projects without extra spending. Common examples include old baking trays, ceramic mugs, serving spoons, or even broken jewelry.
These items can serve as both bases and molds, offering familiar shapes that are easy to work with for beginners. Before beginning, remove any wax, polish, or loose finishes.
Sand glossy surfaces lightly to help epoxy resin adhere. Materials such as glass, metal, and fired ceramics work very well, resisting warping or damage during the curing process.
Avoid using flexible plastics or items that might melt from the heat generated as epoxy cures. Using upcycled household items lets artists personalize home decor or produce thoughtful gifts.
This approach also reduces waste, making it appealing for eco-conscious crafters seeking sustainable resin art supplies. For further inspiration and supply tips, the beginner’s guide on resin art materials and supplies covers foundational advice on repurposing safely.