

Building Functional Home Features on a Budget
Why am I still tripping over shoes and stacks of magazines? I don’t need a $700 storage ottoman or a contractor who drinks all my coffee. Refinishing cheap wood, getting splinters, screwing up the measurements—yep, it happens. But when a project actually saves money and doesn’t fall apart, I can’t complain. Well, not much.
Weekend Wooden Bench Project
Best advice I’ve gotten: skip the premade benches. Just grab two-by-fours (pressure-treated if your dog’s a chewer—trust me). The discount lumber pile is full of warped boards, but that’s fine for outdoor stuff. Home Depot’s overstock guy said you can save up to 60%, and he didn’t even try to sell me anything extra.
I use a basic pine board, cordless drill, coarse-thread screws (2.5 inches for softwood), and whatever finish is cheapest. Pocket holes? I skip them. If the bench wobbles, I just add a corner bracket. My neighbor once sanded down pallets and left nails inside—total disaster—so now I always check with a stud finder set to metal. Bench legs splay out, so don’t always trust “perpendicular.” For the seat, 16 inches high is easier on the knees. I always go with oil-based stain, even if “quick-dry” sounds tempting. If you want instructions that don’t talk down to you, I mostly follow this wooden bench guide and ignore half of it anyway.
Simple Built-In Bookcase Tips
Three hours into a “quick” bookcase, I’m covered in drywall dust and the shelves are crooked. Glossy home magazines never mention wall studs or how heavy MDF is. Built-ins are just a way to use dead space, and honestly, you probably have most of the tools already—level, stud finder, maybe not enough patience. Did you know 64% of homeowners regret floating shelves? Hidden brackets never stay level. Ask me how I know.
I skip fancy trim—water ruins it anyway—and I pre-prime the MDF before cutting. Some community ed teacher swore by this, and she’s right: less mess later. Spacing isn’t perfect. Shelves need at least 12 inches for hardcovers, or you’re just cramming books in. Sometimes I slap on reclaimed cupboard doors for storage underneath—visible hinges, whatever. Custom cabinets run $800+, but these plans with home center supplies are way cheaper if you don’t mind a few paint drips. Paint after installing, trust me. Holding up a bookshelf and a brush at the same time? Nightmare.
Entertainment Center Makeovers Made Easy

Trying to organize my media shelf? I lose half a day under piles of HDMI cables and remotes that somehow multiply. Last time I tried, I just shoved everything in a shoebox labeled “HELP.” Not my finest moment.
Maximizing Media Storage
Every new streaming device means less shelf space. I keep looking at those “built-in cubbies” from DIY entertainment center projects but then remember the time I built an IKEA unit upside down and the doors never worked right. Sometimes I wedge DVDs behind the soundbar. Saw someone use tiered baskets—looked smart, made me jealous. Why didn’t I think of that? There’s a trick with slim vertical shelves (basically a shoe rack for remotes), and I saw a TV stand on HomeISD’s DIY list with sliding trays. Supposedly, pros use matching bins for wires, but mine always turn into junk drawers after a week.
One neighbor stuck magnetic strips up for remotes—great until her kid started launching them across the room. I tried a hidden drawer under the TV and just filled it with old cables and, weirdly, a fossilized cheese stick. Best advice? Mix wall shelves, baskets, and doors that actually close so nobody sees the mess. Someone should invent a self-sorting console. I’d pay for that.
Cable Management Hacks
Cables. I pull everything out, swear I’ll organize it, then find wires that go nowhere. Adhesive cable clips help, but I bought neon green ones and now they’re just ugly. Once zip-tied everything so tight I couldn’t unplug the Blu-ray for two years. Experts on How To Build It say flexible tubing is the answer, but it never uncoils in winter. Now I just accept the wires look like a plate of spaghetti behind the TV.
Most days, I slap Velcro wraps on chargers, label the big power brick for the router, and mount the extension strip under the lowest shelf—only way it doesn’t end up on the floor. If you want it to look tidy, stick-on cord channels might work, but the paint always peels. I tried labeling cables with bread tags. Now every wire is color-coded and still nothing plugs in right unless I get lucky. There’s always one leftover cable. No idea what it does. HDMI? Some relic? Who knows.
Transforming Outdoor Spaces with Speedy Projects
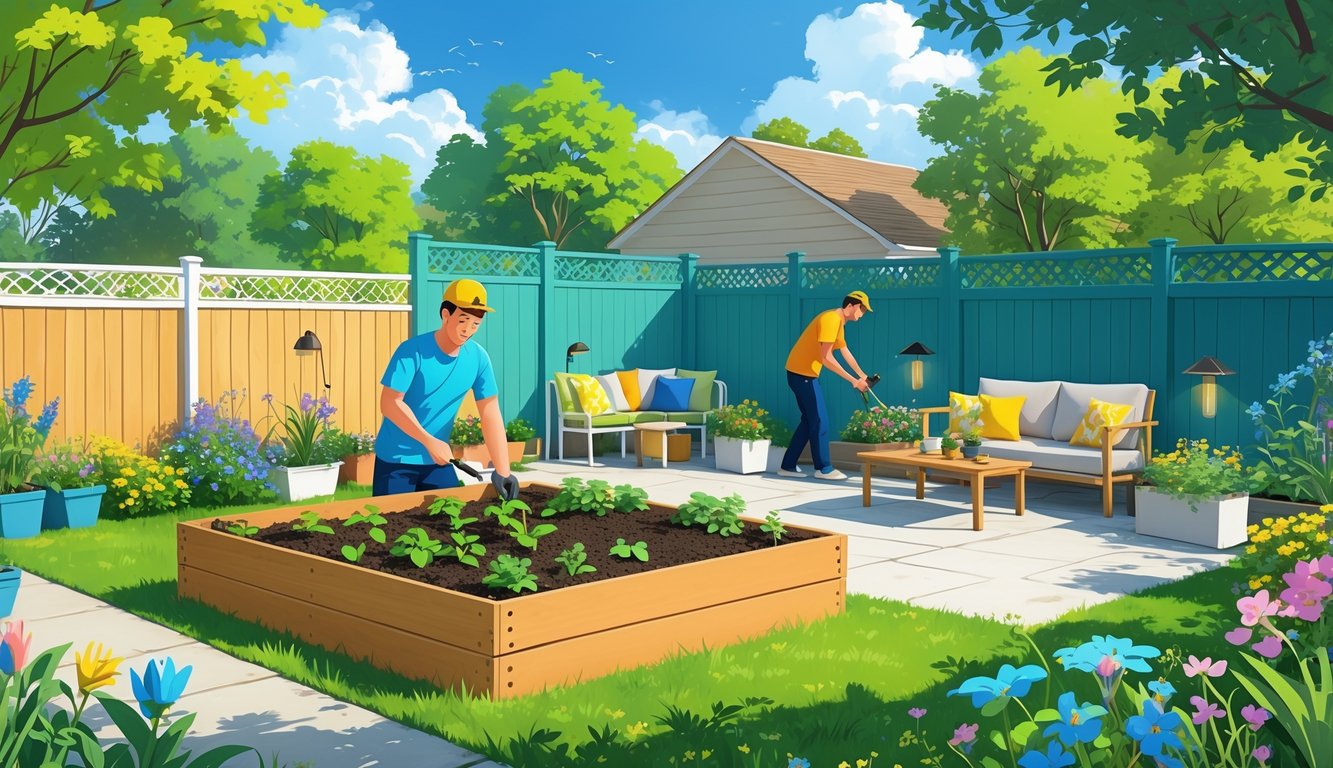
Scraping mud off patio chairs, tripping on the same cracked flagstone—why do the easiest outdoor projects always turn into a headache? Not everything needs a whole weekend. There are hacks for fire pits and patio makeovers that don’t eat up your entire Saturday, if you can avoid “project creep.” Easier said than done.
Backyard Fire Pit in an Afternoon
Alright, so is it just me or does every DIY home project sound like a saga? People go on about weeks of digging, fancy bricks, YouTube-worthy reveals. I grabbed a $50 steel fire pit ring and a shovel, and honestly, it was done before I remembered to eat lunch (unless you count the neighbor’s cat, who supervised and judged the whole thing). Here’s the mess: dig a shallow bowl—what, 24 to 36 inches across?—toss down some weed barrier, dump gravel, drop in the ring. Done. No drama. Maybe a little sweat.
Everyone acts like you need to be some masonry wizard to have a fire pit, but DIY backyard ideas keep proving most people just want to roast marshmallows, not take out a home equity loan. I’ve heard folks claim stacking pavers is faster than mortar—nobody cares about the gaps when there’s fire. Anything that won’t blow up works: scavenged bricks, metal troughs, random rocks you dig up. (Cinder blocks? Only if you’re into surprise explosions at 2 a.m.)
I always forget the sand layer for drainage. Every. Single. Time. So the pit turns into a mud puddle after it rains, and yes, mud actually smokes. Table:
| Material | Average Cost | Install Time | Pro Tip |
|---|---|---|---|
| Steel Ring | $40-$80 | 1-2 hours | Add pea gravel underneath |
| Concrete Pavers | $25-$100 | 2-3 hours | Skip adhesive, just stack |
| Repurposed Brick | Free-$40 | 2-3 hours | Test for cracking first |